Bottom Line: Explore a comprehensive guide for those who have little to no experience using Microsoft Excel.
Watch the Tutorial
Download the Excel File
You can follow along with the video by using the same Excel file I use.
The Excel Starter Pack that I mention in the video is also included with the download. It contains guides for shortcuts, applications, and our popular Pro Tips eBook.
The zip file contains all of the files mentioned above.
Everything You Need to Know to Begin
Today we're exploring Excel fundamentals to help anyone who's just starting with Excel or who has very limited exeprience using it. With over 15 years of experience teaching Excel, I'm excited to share essential tips, best practices, and common mistakes to avoid. We'll start with the very basics, so feel free to skip ahead to more advanced sections.
Table of Contents
- Getting Started with Excel
- Default Start Window
- Web vs. Desktop (Windows or Mac)
- Insert and Open Workbooks
- Application Guide
- Navigating Excel
- Workbooks vs. Worksheets
- Adding and Renaming a Sheet
- Understanding the Grid
- Inputting and Editing Data
- Entering Data
- AutoComplete and Overwriting Data
- Deleting and Resizing Data
- Data Types
- Formatting Data
- Number Formatting
- Dates and Text
- Font, Fill, Borders, Alignment
- Copying, Pasting, and Moving Data
- Different Paste Options
- Using Format Painter
- Move Cells by Dragging
- Insert and Delete Rows/Columns
- Fill Handle
- Writing Formulas and Functions
- Basic Formulas
- SUM and AVERAGE Functions
- AutoSum and Absolute References
- More on Formulas
- Sorting and Filtering Data
- Using Filters
- Sorting Data
- Creating Charts and Visualizing Data
- Basic Charts
- More on Charts
Getting Started with Excel
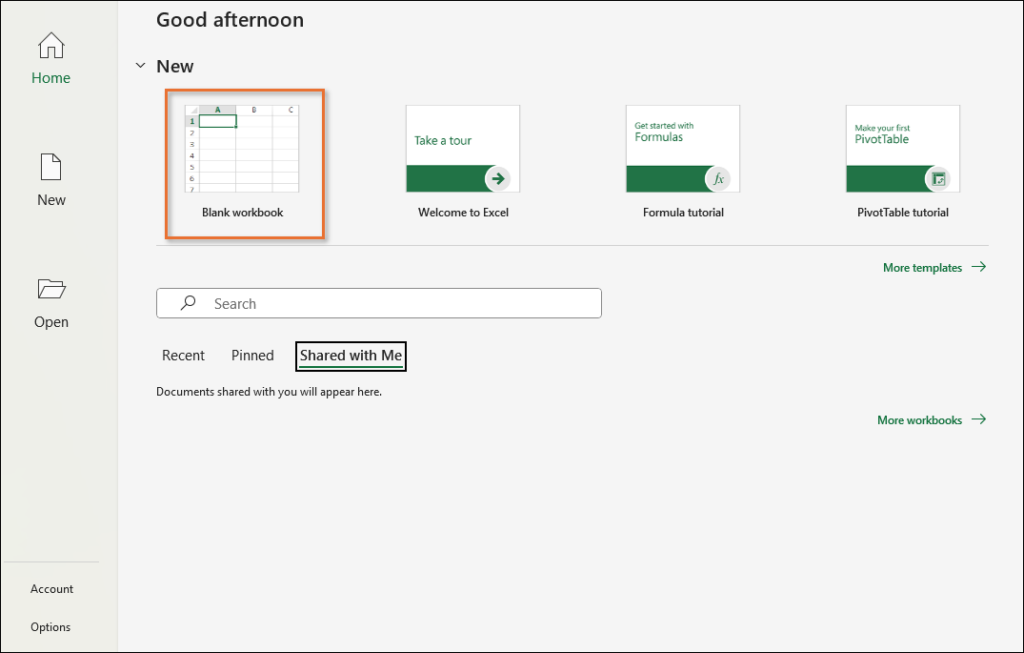
Default Start Window
When you first open Excel, you'll be greeted with the start screen. Here, you can choose to start with a blank workbook, select a template, or open recent files. Start with a blank workbook by clicking the “Blank workbook” button.
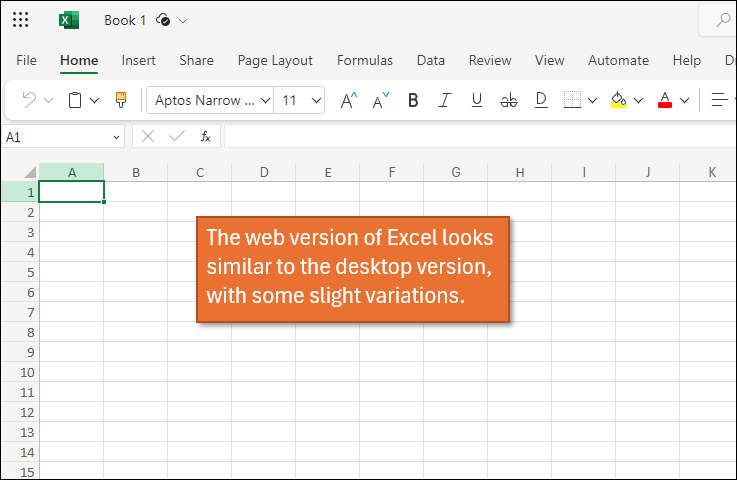
Web vs. Desktop (Windows or Mac)
Excel is available in both desktop and web versions. The desktop application is available on both Windows and Mac, while the web version can be accessed via your browser.
To open the web version, type excel.new in your browser and log in with your Microsoft account. The web version closely resembles the desktop version, but there are some differences in keyboard shortcuts and features.
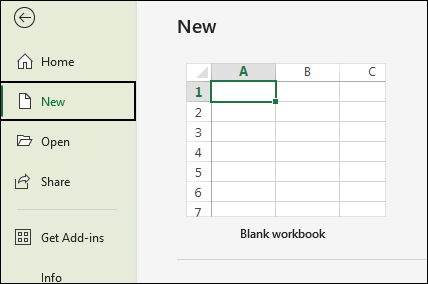
Insert Blank Workbook
To create a new workbook on the Desktop version, click “File” > “New” > “Blank Workbook”. You can also use keyboard shortcut Ctrl + N.
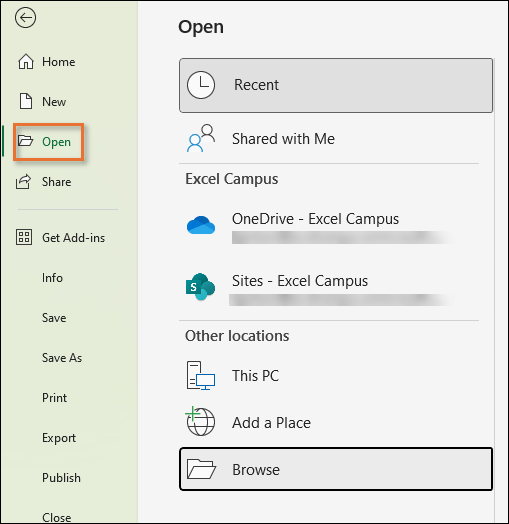
Open a Workbook
To open an existing workbook, click “File” > “Open” and browse to the location of your file. You can also use keyboard shortcut Ctrl + O.
Application Guide
Excel has different versions for Windows, Mac, and the web. Of course, each version has a slightly different layout and keyboard shortcuts. So use the application guide specific to your version to familiarize yourself with the interface.
Windows Version
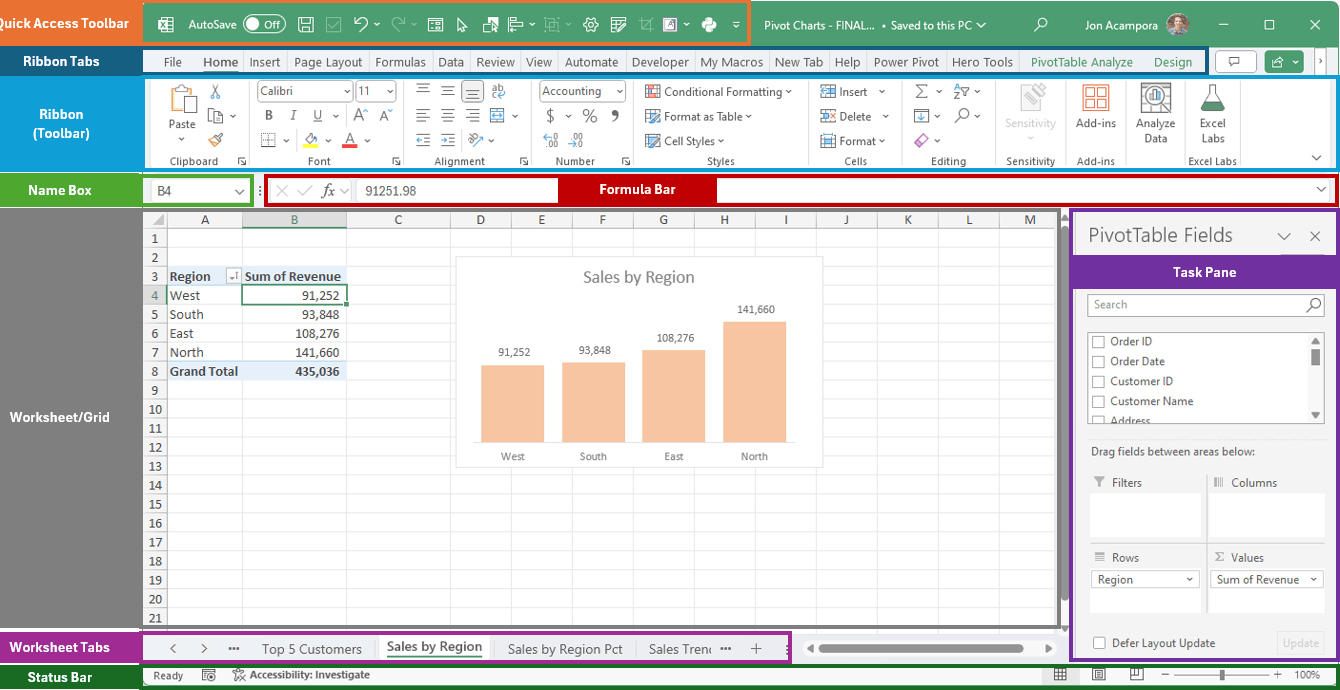
Mac Version
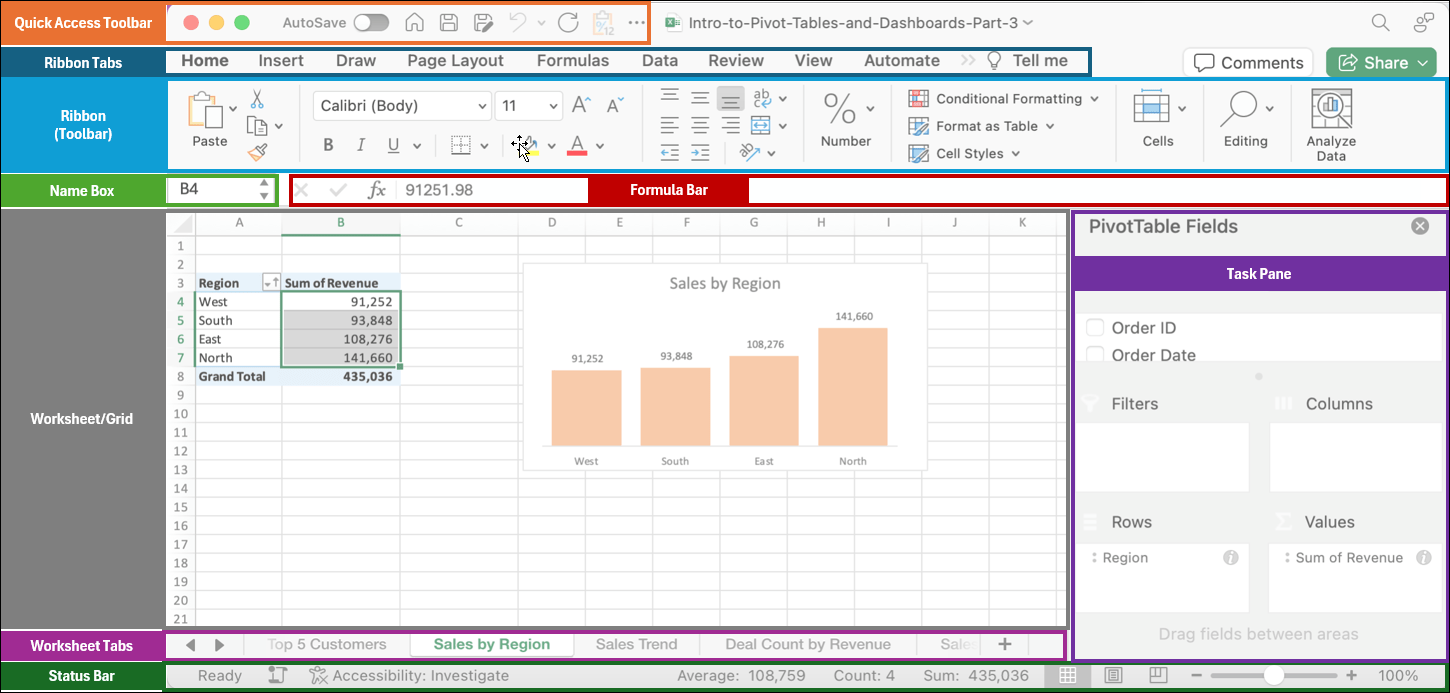
Web Version
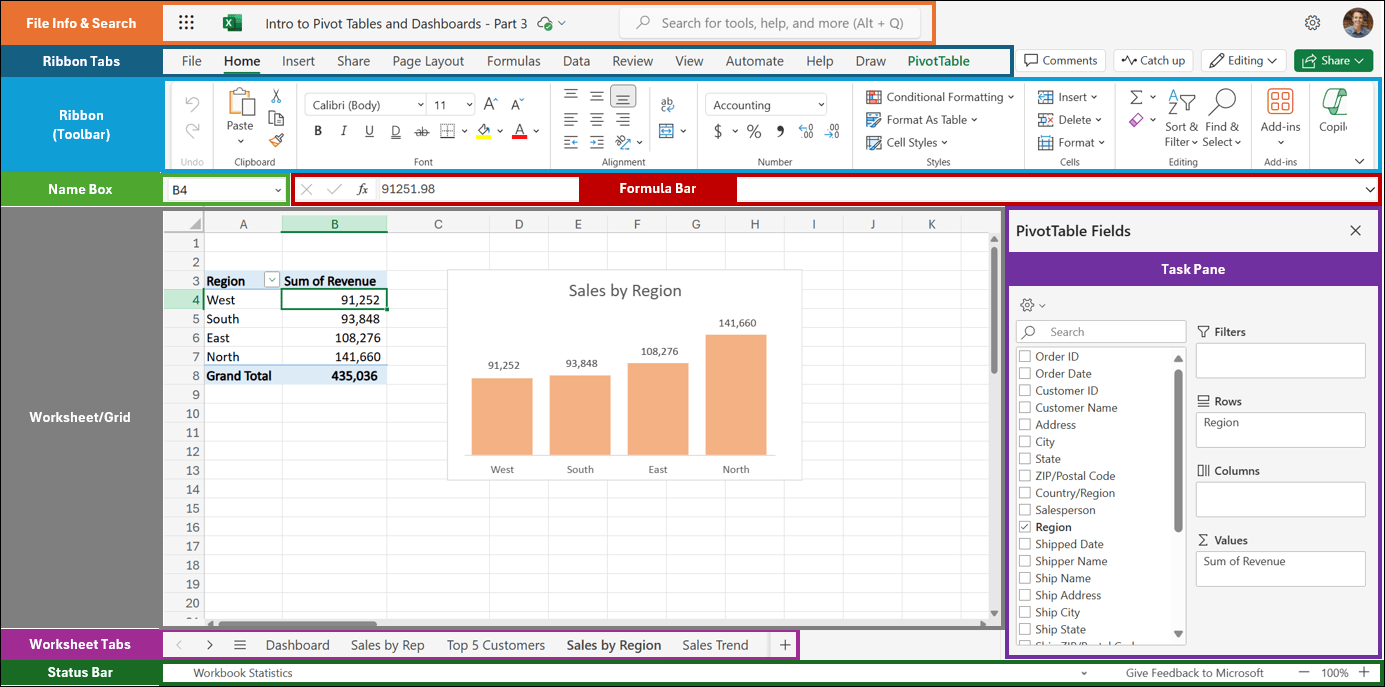
All of these application guides are contained in the Excel file at the top of this tutorial.
Navigating Excel
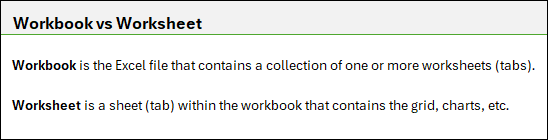
Workbooks vs. Worksheets
A workbook is an Excel file containing one or more worksheets. Worksheets, often referred to as sheets or tabs, are the individual pages within a workbook. To navigate between sheets, click the sheet tabs at the bottom of the window.
Adding and Renaming a Sheet
To add a new sheet in Excel, simply click the plus button (+) located next to the existing sheet tabs at the bottom of the window. This will insert a new blank sheet named “Sheet1,” “Sheet2,” and so on.

Renaming your sheets is a good practice to keep your workbook organized. To rename a sheet:
- Double-click the sheet tab you want to rename. This will put the sheet name in edit mode.
- Then type the new name for your sheet.
- Lastly, press Enter to save the new name.
For example, you might rename a sheet to “Favorites List” to better describe the data it contains. This helps you quickly locate and reference specific sheets within your workbook.

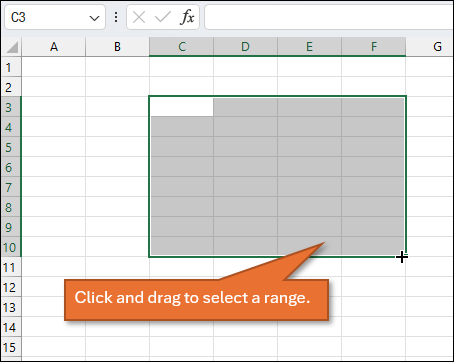
Understanding the Grid
Excel's grid is made up of rows (numbered) and columns (lettered). Each rectangle in the grid is a cell, identified by its column letter and row number (e.g., A1). You can select a range of cells by clicking and dragging. This selected area is called a range.
Inputting and Editing Data
Entering Data
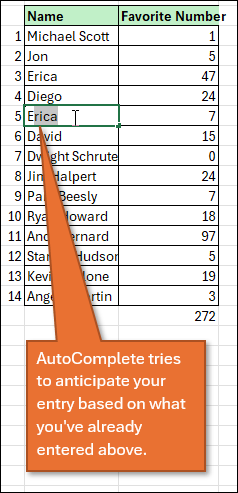
Click on a cell and start typing to enter data. Press Enter to move to the cell below, or Tab to move to the next cell on the right. For example, type names in column A and favorite numbers in column B. Use AutoComplete by typing the first few letters of a name that has already been entered, and Excel will suggest the complete name.
Overwriting and Deleting Data
If you want to edit a cell, double-click it or select it and start typing. To delete data, select the cell and press Delete. To overwrite data, simply type over the existing content.
The Undo button will undo your last entry, and the Esc key will allow you to abandon your current entry. This is especially handy if you accidentally start typing in a cell that contains data that you didn't intend to overwrite.
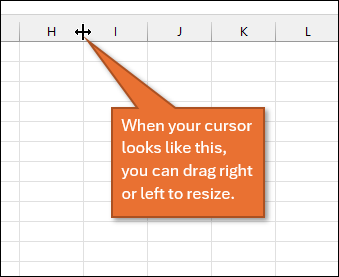
Resizing Cells
To resize columns or rows, drag the edges of the column or row headers. Double-clicking the edge will auto-fit the column or row to the content. You can also select multiple columns or rows to resize them simultaneously.
Data Types
There are three main data types: numbers, text, and dates.
Any combination of these in a single cell is considered text.
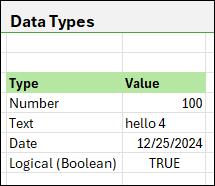
Entering dates can be done with slashes (e.g., 12/31/2024) or dashes (e.g., 12-31-2024).
A fourth data type to quickly mention is a logical or Boolean data type, which can be used for writing formulas.
There are also other data types including rich data and images, but these are less important when you are getting started with Excel.
Formatting Data
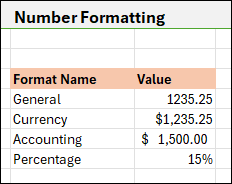
Number Formatting
To format numbers, select the cell(s) and choose the appropriate format from the “Number” dropdown in the “Home” tab. Options include General, Currency, Accounting, and Percentage, among others. There are also buttons in the Ribbon that allow you to increase or decrease the number of decimal places.
Dates and Text
Excel can automatically detect and format dates. To customize date formats, right-click the cell, select “Format Cells,” and choose the desired format.
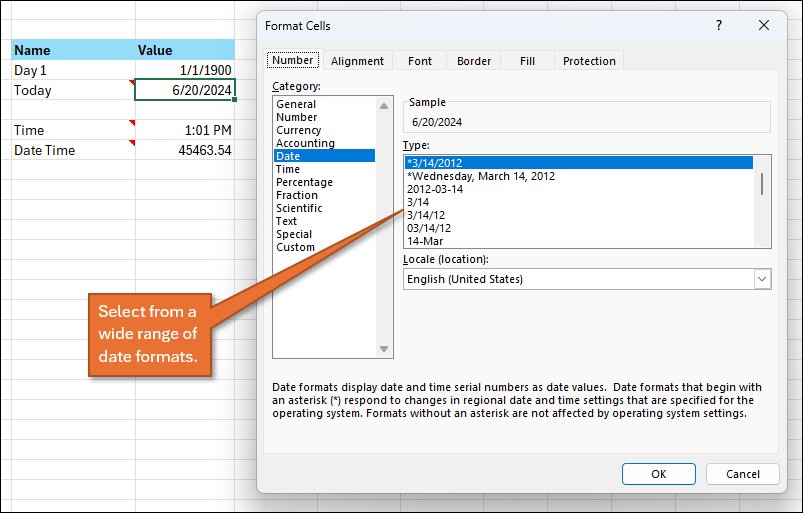
Each date is assigned a whole number based on its relation to 1/1/1900. This is Excel's starting point for calendar dates. So if you ever change the formatting of a date to text, the number that you'll see is the number of whole days that have elapsed from that reference point.
See the video above for more details or checkout this post on How Dates Work in Excel – The Calendar System Explained + Video.
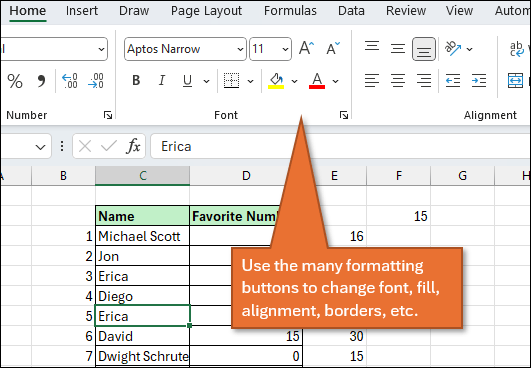
Font, Fill, Borders, Alignment
Use the “Home” tab to apply font styles, fill colors, borders, and alignment options. For example, select a header row and apply bold, a fill color, or center alignment.
Copying, Pasting, and Moving Data
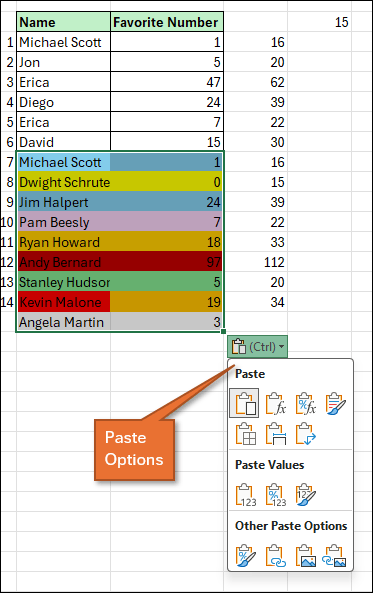
Different Paste Options
Copying and pasting in Excel can be done with Ctrl + C and Ctrl + V, respectively. After pasting, use the “Paste Options” menu to choose different paste formats, such as “Values Only” to avoid copying formatting.
Here are 5 Keyboard Shortcuts to Paste Values in Excel, if you'd like to learn more on this topic.
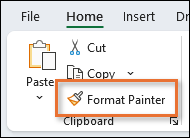
Using Format Painter
To copy formatting from one cell to another, use the “Format Painter” in the “Home” tab. Select the cell with the desired format, click “Format Painter,” and then click the cell or range where you want to apply the format.
Move Cells by Dragging
You can left-click and hold and cell tro drag its contents, including the formatting, to another cell. You can also drag ranges of cells and insert them between others.
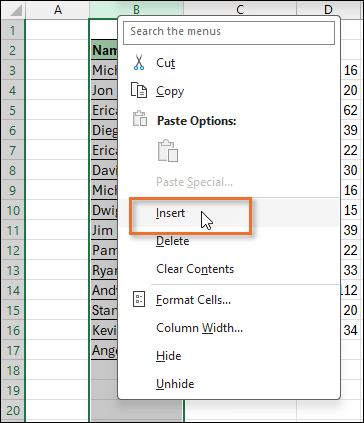
Insert and Delete Rows/Columns
Right-click a row or column header to insert or delete rows or columns. Use the “Insert” option to add a new row above or a new column to the left of the selected row or column.
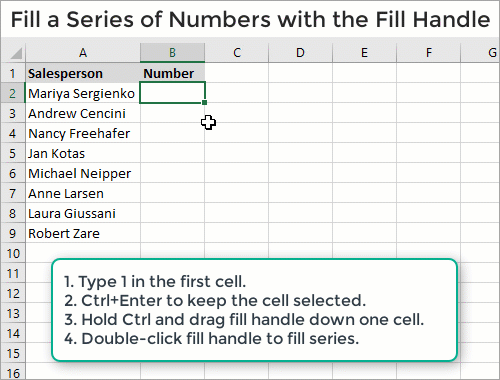
Fill Handle
When you hover over the bottom right corner of a selected range, your cursor will turn into a plus symbol. This is called the fill handle, and it allows you to copy down or fill in a sequence based on the pattern it recognizes in the selected cells. Double-clicking on the fill handle will also fill the numbers down.
Writing Formulas and Functions
Formulas in Excel start with an equals sign (=). For example, to add two cells, type =A1+B1 and press Enter.
SUM and AVERAGE Functions
Use functions like SUM and AVERAGE to perform calculations on a range of cells. For example, =SUM(A1:A10) adds all values in cells A1 through A10.
AutoSum is a quick way to sum a column or row of numbers. Use the options in the AutoSum dropdowm on the “Home” tab to quickly add functions like SUM or AVERAGE.
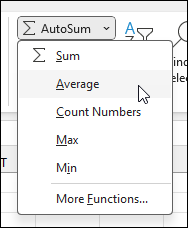
The keyboard shortcut for AutoSum is Alt + =.
Absolute References
Use absolute references (e.g., $A$1) to lock, or anchor, a cell reference when copying formulas. To change a reference to be absolute, use F4 for Windows ot Cmd + T for Mac.
More on Formulas
We've only seen the tip of the iceberg when it comes to formulas. Here are some additional tutorials on the topic:
- 5 Formula Editing Tips
- How to Fix Excel Formulas that are Not Calculating or Updating
- IF Formula Tutorial for Excel – Everything You Need To Know
Sorting and Filtering Data
Using Filters
To filter data, select the range and click the “Filter” button in the “Data” tab. Use the dropdown arrows in the headers to sort or filter the data.
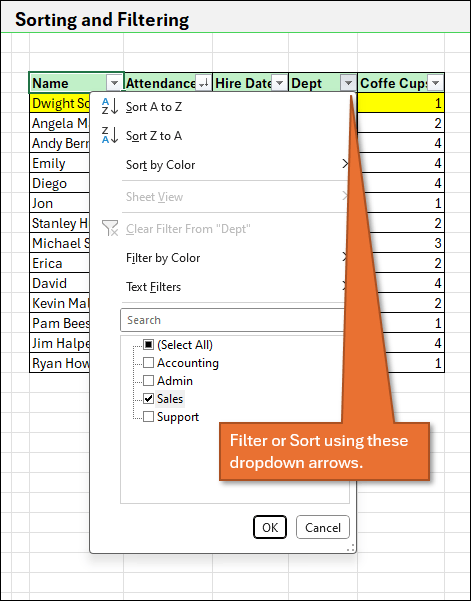
Sorting Data
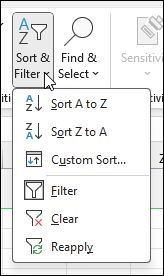
Click a column header to sort data in ascending or descending order. Use the “Sort & Filter” options in the “Home” or “Data” tab for more advanced sorting options.
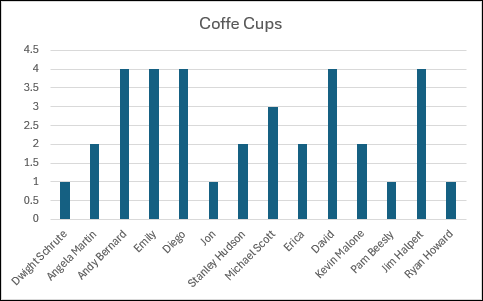
Creating Charts and Visualizing Data
Basic Charts
To create a chart, select the data range and choose a chart type from the “Insert” tab. For example, create a column chart to visualize the number of coffee cups each person has.
Here are some more tutorials on charts:
Conclusion
I hope you found this tutorial helpful. Excel takes time to learn, so don't hesitate to rewatch sections of the video. Practice will make it easier. To help you on your learning journey, we've put together a free Excel Starter Pack that includes some helpful guides to remember all these tips and use Excel like a pro. Of course, you can grab it for free here: XXXXXXXXXXXX.
I'd love to hear what's been most helpful for you, so please leave a comment below. For more advanced Excel skills, check out the hundreds of tips and turorials at Excel Campus, such as learning the VLOOKUP or XLOOKUP functions in this post.
Thanks for watching, and have a great day!


im thankful for this. its a big help for like me who wants to increase his knowledge about ms excel.
An excellent step by step Course presentation. Thank you!
So glad I followed it!